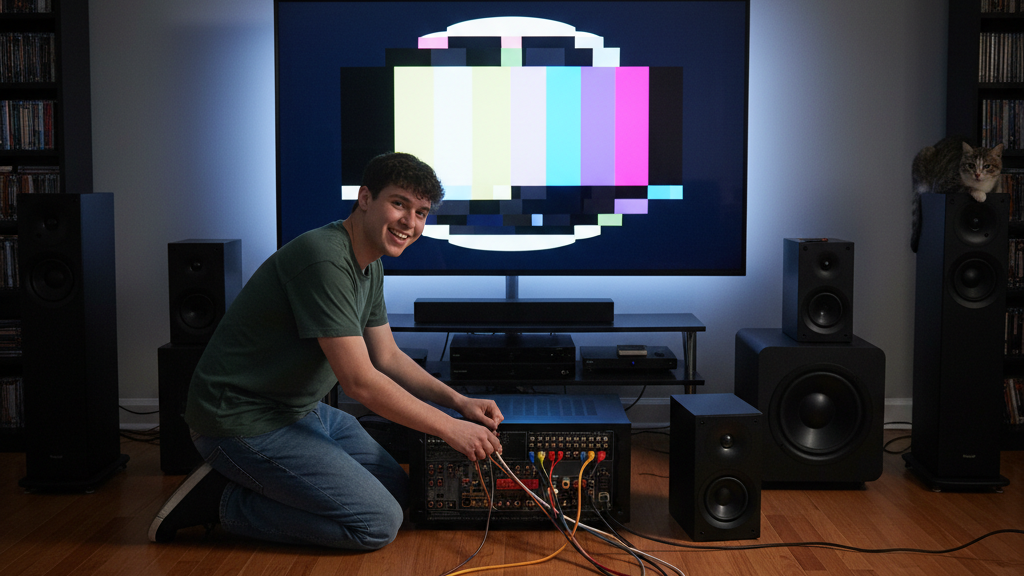
So, you’ve decided to upgrade your movie nights and immerse yourself in glorious surround sound. You’ve unboxed your new receiver, speakers, and maybe even a subwoofer, and now a spaghetti monster of cables stares back at you. Don’t panic! Connecting your first home theater system might seem daunting with all those ports and plugs, but it’s much simpler than it looks. This guide will walk you through the essential steps to get your system up and running, focusing on common connections and practical tips for a seamless setup, without drowning you in technical jargon.
HDMI: Your Home Theater’s Best Friend
When it comes to modern home theater connections, HDMI (High-Definition Multimedia Interface) is king. It simplifies wiring significantly because it carries both high-quality video and multi-channel audio within a single cable. Think of it as a super-highway for all your media signals. For most beginner setups, you’ll primarily use HDMI to connect your source devices (like a Blu-ray player, streaming stick, or game console) to your AV receiver, and then one HDMI cable from your AV receiver to your TV. This centralized approach means your receiver acts as the hub, processing all the audio and video before sending it to the screen and speakers. For example, if you have a PlayStation and an Apple TV, connect both directly to separate HDMI inputs on your receiver (e.g., “Game,” “Media Player”). Then, run a single HDMI cable from the receiver’s “HDMI Out” port (often labeled “Monitor” or “ARC”) to an available HDMI input on your television. This streamlines your connections and allows you to switch between sources using your receiver’s remote.
Speaker Connections: Polarity Matters!
Connecting your speakers is another crucial step for getting that immersive sound. Most passive speakers (the kind that don’t plug into a wall outlet and need an amplifier/receiver to power them) connect to your AV receiver using speaker wire. This wire typically consists of two strands, often marked with different colors or indicators (like ridges on one side) to denote polarity: positive (+) and negative (-). It’s incredibly important to match these polarities correctly on both the speaker and the receiver. Connect the positive terminal on your speaker (usually red) to the positive terminal on your receiver, and the negative (black) to the negative. Mismatched polarity, even on just one speaker, can lead to thin, distorted sound and a lack of bass. A good practice is to always double-check your connections before powering on your system. Many speaker wires are sold in spools, and you’ll cut them to the desired length. For a cleaner look and better connection, consider using banana plugs for the receiver end, as they make for easier and more secure connections than bare wire.
Subwoofer Setup: Feeling the Bass
A subwoofer adds that foundational deep bass that truly brings movies and music to life. Connecting a subwoofer is generally straightforward. Most subwoofers connect to your AV receiver using a single RCA cable, often labeled “Subwoofer Out” or “LFE” (Low-Frequency Effects) on the receiver. Plug one end into this output on your receiver and the other end into the “LFE In” or “Line In” port on your subwoofer. Once connected, you’ll likely need to adjust the subwoofer’s volume and crossover frequency on the subwoofer itself or through your receiver’s settings. A good starting point for crossover is around 80 Hz, which means frequencies below 80 Hz will be handled by the subwoofer, while your main speakers handle the rest. Experiment with the volume control on the subwoofer until the bass blends seamlessly with your other speakers, rather than sounding boomy or overpowering. Remember, the goal is to enhance the overall sound, not to make the subwoofer the sole focus. Many modern receivers also offer automatic room calibration features (using a microphone you place in your listening position) that can precisely set your subwoofer’s levels and crossover for optimal performance. Don’t skip this step if your receiver offers it!